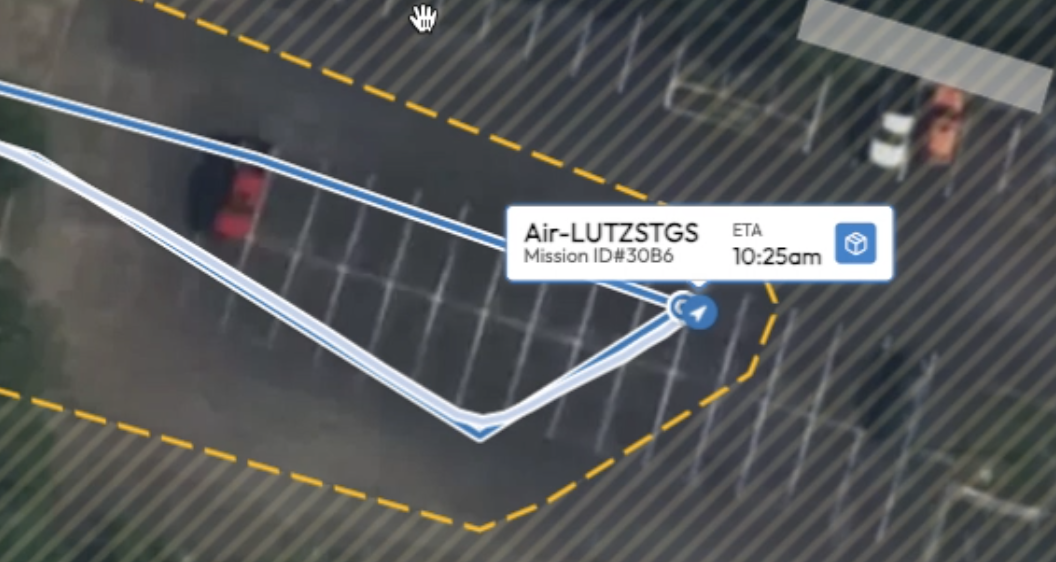
Mission Console
RPICs use the Mission Console interface to complete a given mission. The mission and geocage are only uploaded to the autopilot once it has been assigned an RPIC and is available within the Mission Console. Any previously loaded mission and geocage aboard the aircraft is automatically removed.
Command Bar
The Uncrew Command Bar is a dynamic feature that changes depending on the status of the mission or state of the aircraft. The features within the command bar include: starting a mission, pausing, canceling a mission, defensive crouch, winch delivery, winch freespool, return to home, and alternate landing zone.


Start Mission
After a mission is assigned to the RPIC, the Command Bar displays the “Start Mission” button. Selecting the “Start Mission” button displays a popup prompting the RPIC to confirm they are ready to arm the aircraft and begin the mission.
Cancel Mission
After a mission is assigned to the RPIC, the Command Bar displays the “Cancel Mission” button. Selecting the “Cancel Mission” button removes the mission from the missions panel on the left side of the Mission Console.
Flag
The “Flag” button is used in scenarios where the RPIC may experience an oddity in the mission and wishes to create a marker for troubleshooting teams to reference. This marker is only visible in the backend of Uncrew. The “Flag” button is accessible at any point in flight.
Pause
The “Pause” button is accessible at all points in flight. Selecting the “Pause” button commands the aircraft to enter Hold flight mode, which maintains the aircraft’s current position in space. If a delivery is currently in progress, selecting the “Pause” button sends a Hold command to the winch.
Resume
The “Resume” button is only accessible if the aircraft was previously paused or commanded to initiate a Defensive Crouch maneuver. If the aircraft was previously commanded to Return to Home followed by a “Pause” command, using “Resume” will not put the aircraft back into Return to Home mode.
If the winch previously received a “Pause” command, selecting the “Resume” button will continue the winch delivery process.
Defensive Crouch
The “Defensive Crouch” button is utilized to deconflict with crewed aircraft in the operational vicinity. This feature, found in the Mission Console, can be initiated at any stage of flight and sets the flight mode to Hold. Once the aircraft comes to a rest, it begins its descent down to 80 ft AGL based on the Light Detection and Ranging (LiDAR) rangefinder. Defensive Crouch can be interrupted at any point by pressing the “Pause” button.
Winch Controls
Within the Command Bar, the RPIC has access to the delivery and freespool commands. Selecting either button displays a popup for the RPIC to confirm that this action should be taken. Upon arriving at the delivery point, the “Start Delivery” popup automatically appears. If this popup has been closed or the aircraft position is adjusted, selecting the “Start Delivery” button in the command bar reopens the “Start Delivery” popup.
The “Freespool” button is only available when the winch status is not locked. When selected and confirmed, the winch will immediately begin to freespool the winch line off of the winch spool. The winch line will lower, picking up momentum as the line descends. If a delivery box is loaded onto the aircraft at the time of release, the line descends at a faster rate than if a box was not loaded due to gravity.

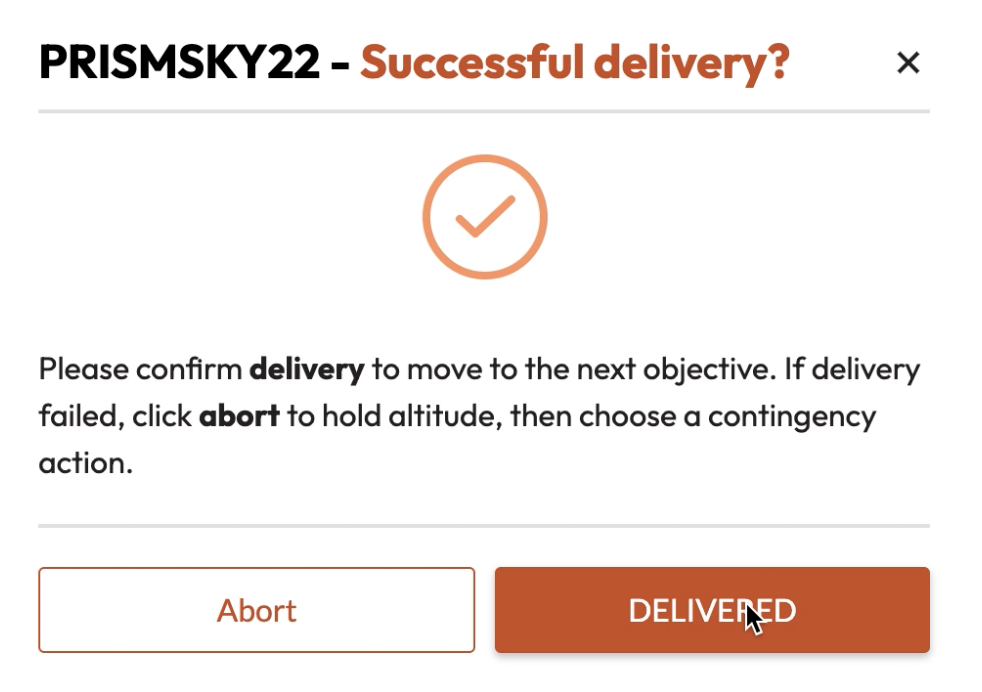
Once the winch delivery has been completed and the winch returns to a locked state, the popup below appears to allow the RPIC to mark the delivery successful or to abort and take a contingency action.
Return to Home
The RPIC at any point may instruct the aircraft to return to home. Selecting the “Return to Home" button commands the aircraft to calculate a new path to the designated landing point via Smart RTL. All routes created by Smart RTL navigate around NFAs. Once the new route is uploaded to the aircraft, an updated geocage is simultaneously uploaded surrounding the route.
Commanding a Smart RTL places the aircraft into a contingency state. In order to override the Smart RTL route, AMC Click to Fly must be used.
If a new route cannot be calculated via Smart RTL, the aircraft will return utilizing the previously calculated route.
Alternate Landing Zone (ALZ)
The RPIC at any point may instruct the aircraft to reroute to a ALZ. Selecting the “ALZ” button commands the aircraft to calculate a new route to the closest nearby ALZ. All routes created by ALZ navigate around NFAs. Once the new route is uploaded to the aircraft, an updated geocage is simultaneously uploaded surrounding the route. Once arrived at the ALZ, the aircraft holds its position above the ground and awaits further input from the RPIC.
Commanding an ALZ places the aircraft into a contingency state. In order to override the ALZ route, AMC Click to Fly must be used.
Land In Place
The RPIC at any point may instruct the aircraft to land in place at the aircraft’s current position. Selecting and confirming the “Land In Place” button commands the aircraft to enter Land flight mode. This command may be interrupted by selecting the “Pause” button.
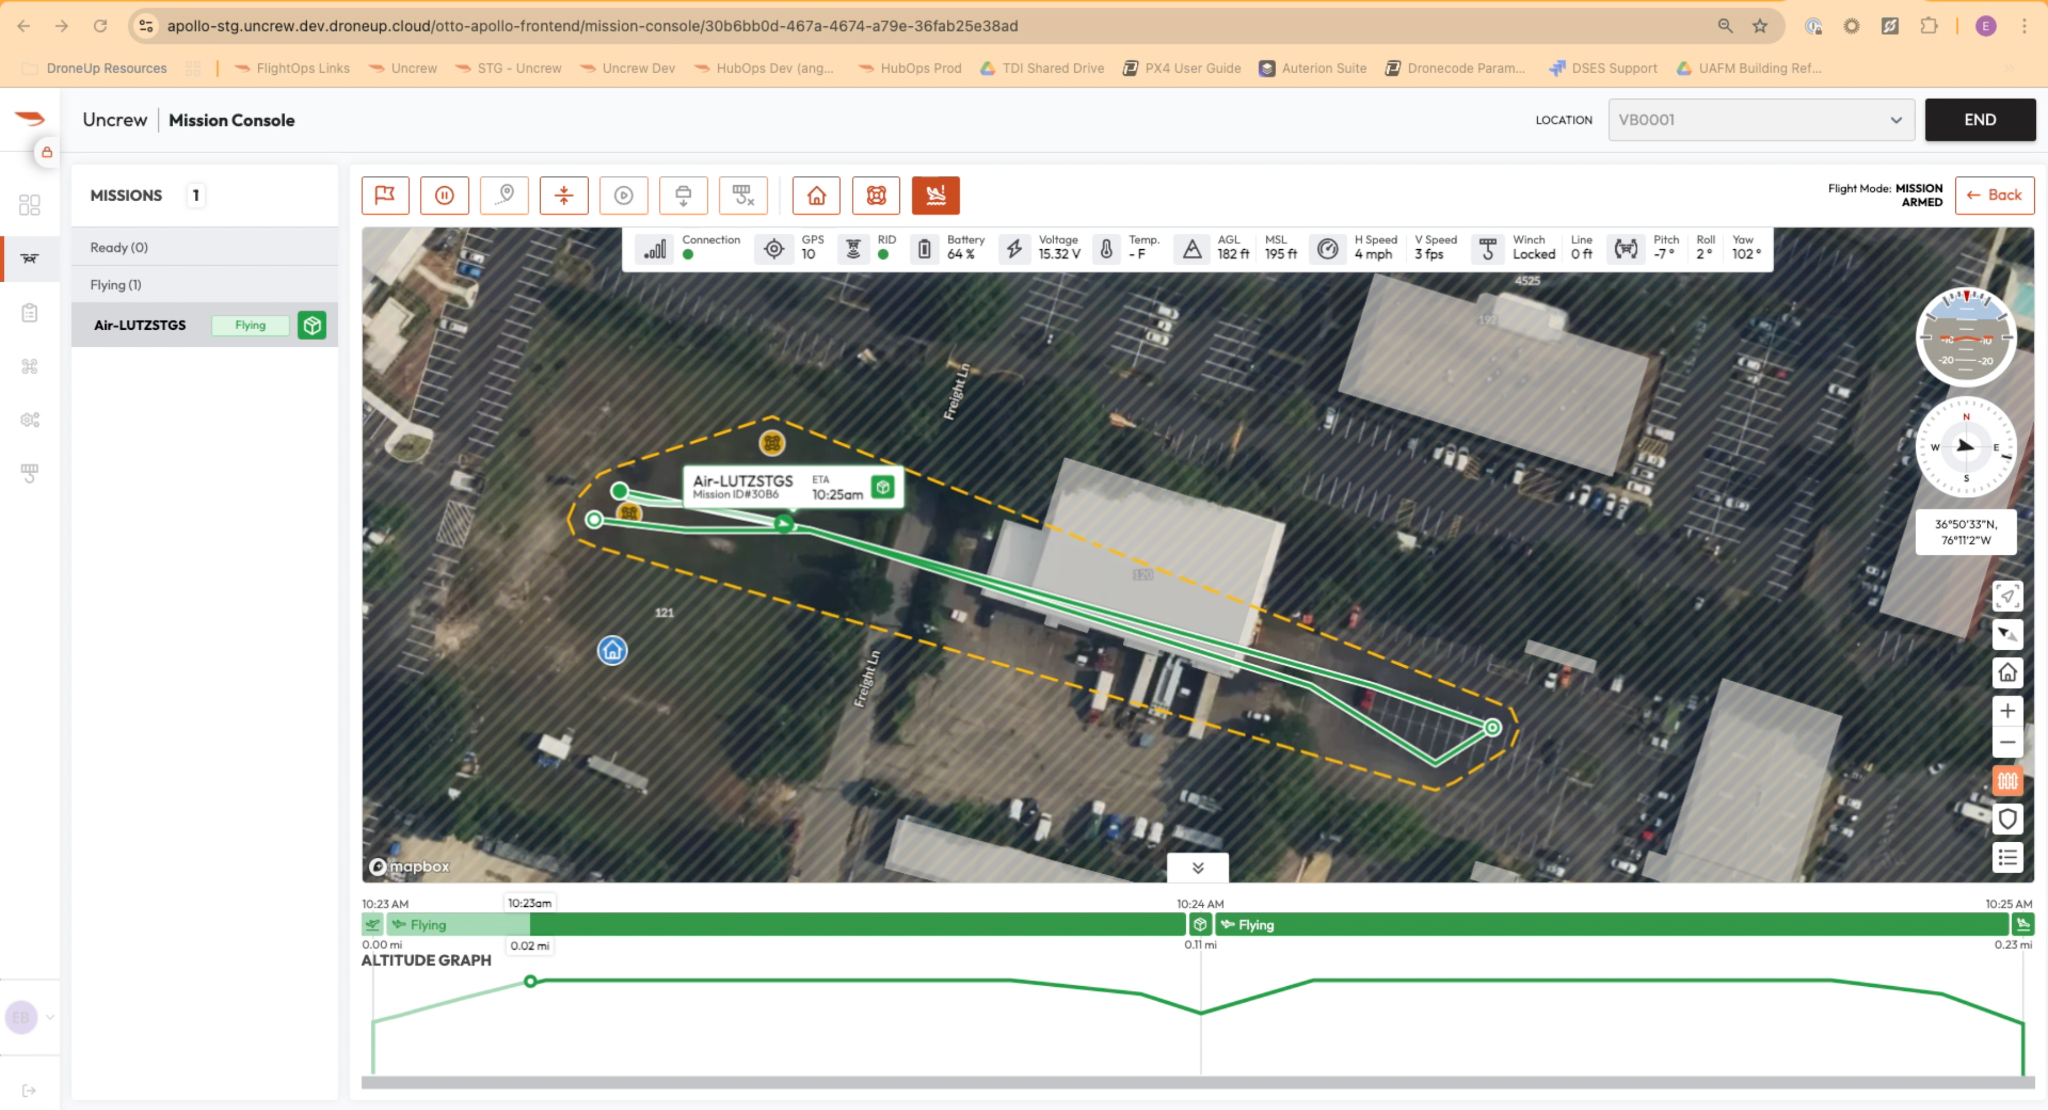
Telemetry Bar
The Uncrew Telemetry Bar is where the RPIC will find telemetry being sent from the aircraft. Information such as C2 status, GPS state, energy percentage and voltage, altitude, ground speed, heading, winch status and line length, pitch, roll, and yaw can be found in this area within the Mission Console. This information should be monitored throughout the flight by the RPIC.

During the mission, the AGL telemetry dynamically switches reference data. Anytime during flight with the exception of hovering (Delivery, Defensive Crouch), the AGL reference is based on the Digital Surface Model (DSM). When executing the Defensive Crouch hover and when hovering at the delivery point, the AGL reference is based on the LiDAR Rangefinder.
Flight Mode
In the top right corner of the Mission Console interface, the current flight mode and arming status is displayed.

Altitude Graph
The Altitude graph displays the predicted timestamps and historical data from the aircraft as it progresses through the mission. Timestamps located on the top area of the graph panel are used to reference when the aircraft has taken off, reached the delivery destination, and landed back at the final approach and takeoff location. The RPIC should reference this graph to increase situational awareness throughout the mission. The AGL and MSL information seen within the graph is based on the DSM.

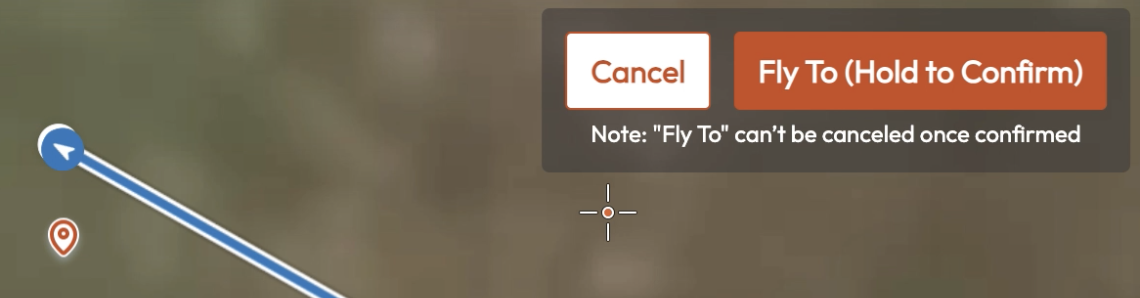
Fly To
At the delivery point, the RPIC has the option to adjust the aircraft’s position if the delivery area below does not look clear. To conduct this maneuver, press the “Adjust” button within the Start Delivery popup. Once pressed, the mouse cursor changes to a crosshair allowing a new location to be selected.
After the “Adjust” button is selected, the maneuver can be aborted by selecting the “Cancel” button.
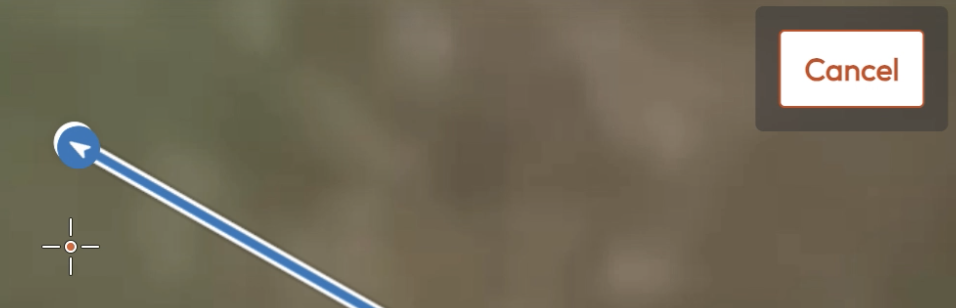
Once the desired location is selected on the map, an orange marker is displayed and the popup updates with a confirmation button. Before the maneuver begins, the RPIC must Hold to Confirm the orange button within the popup.
Once the aircraft has arrived at the new delivery location and the area has been confirmed clear via the video feed, the delivery can be started by selecting the “Start Delivery” button on the command bar.
Uncrew Geocage
The Uncrew Geocage is displayed as an yellow dashed line around the ALZs, takeoff/landing location, flight route, and delivery location, if applicable. The displayed geocage can be turned on and off by selecting the orange fence button in the bottom right corner of the screen. Uncrew will not allow flights to cross this displayed geocage. Only the use of AMC Click to Fly will allow the RPIC to cross this geocage barrier.