HubOps MCA
The following steps are completed when completing deliveries requested by a vendor. All steps within Section 3 involving the HubOps MCA require the use of the Zebra scanner.
Pick
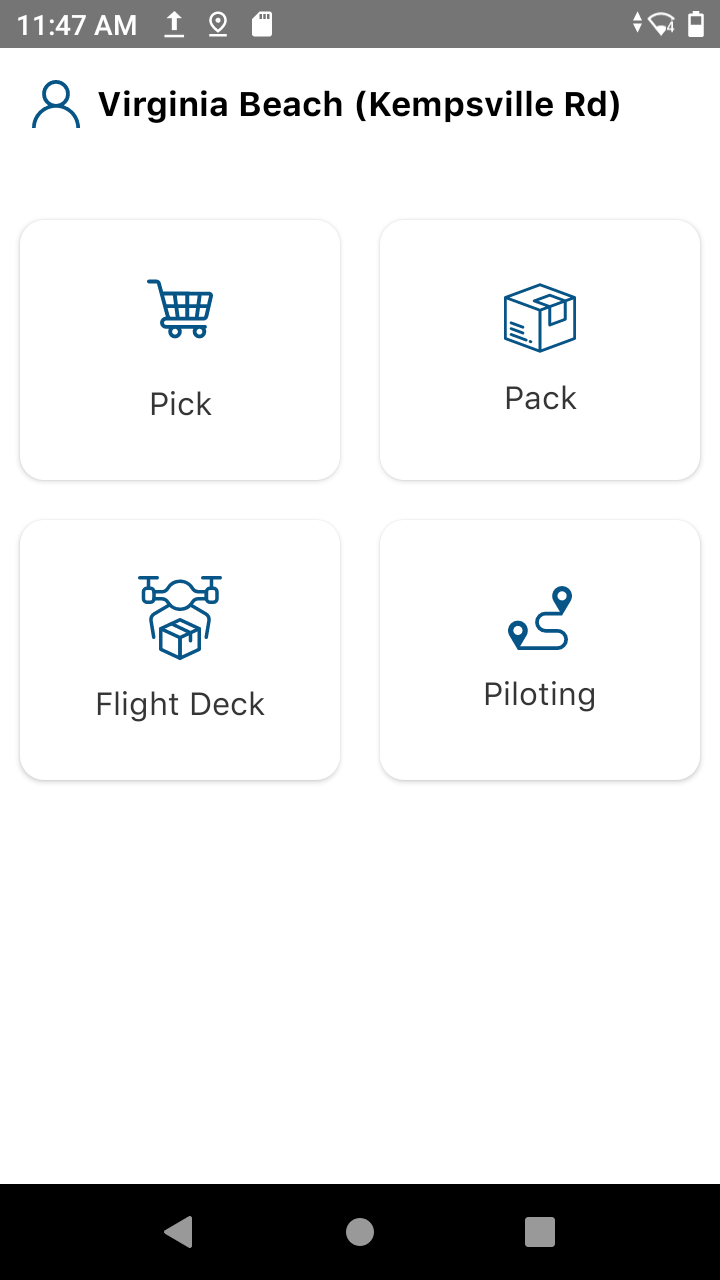
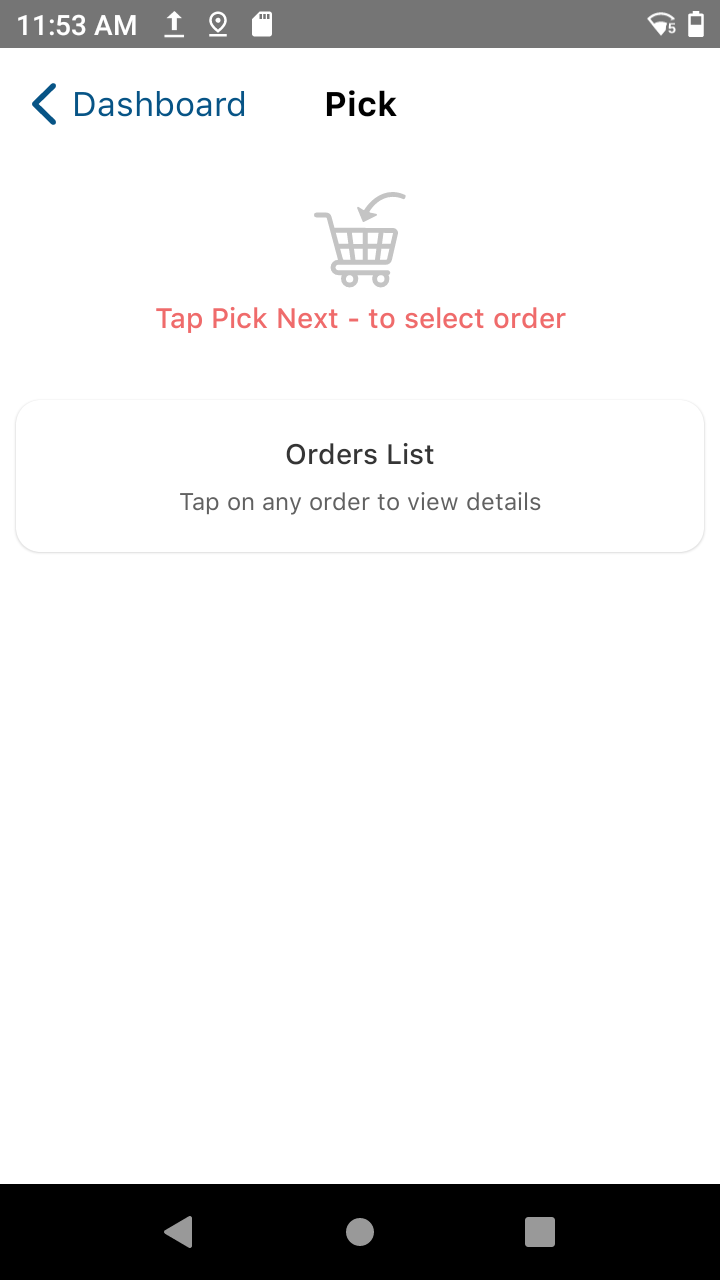
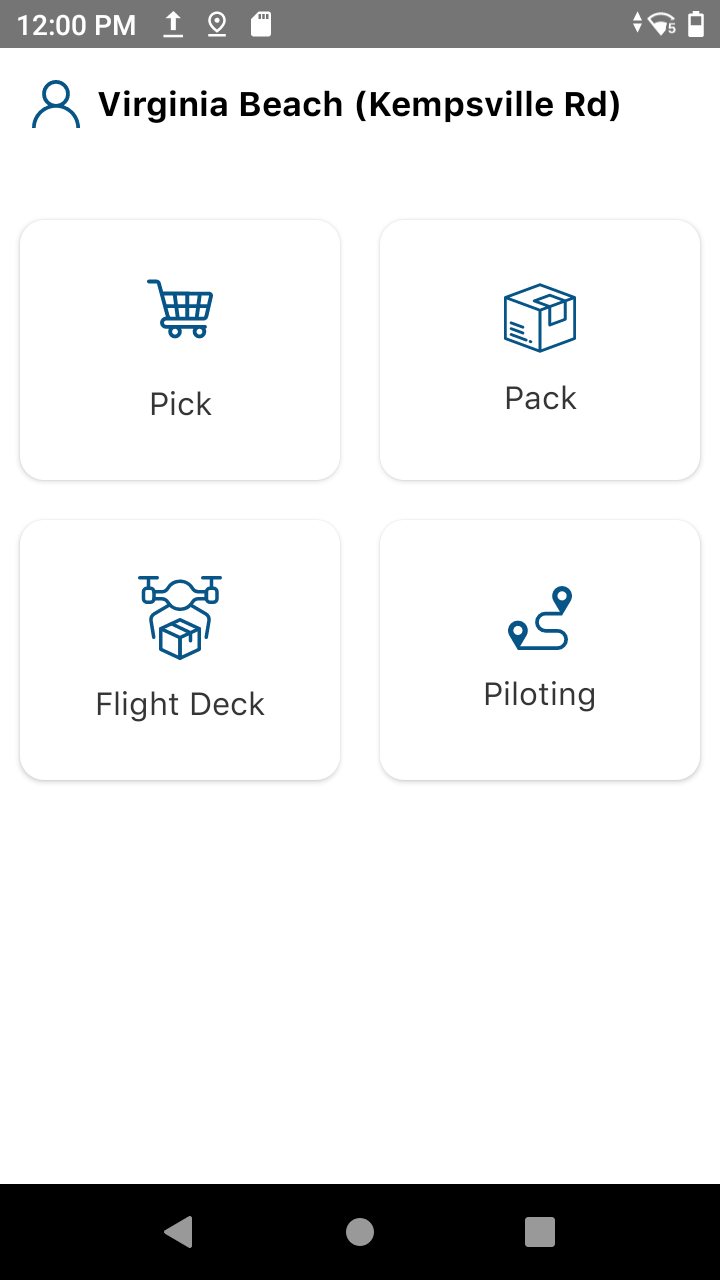
- Pick: Select the Pick tile to begin the procedure.
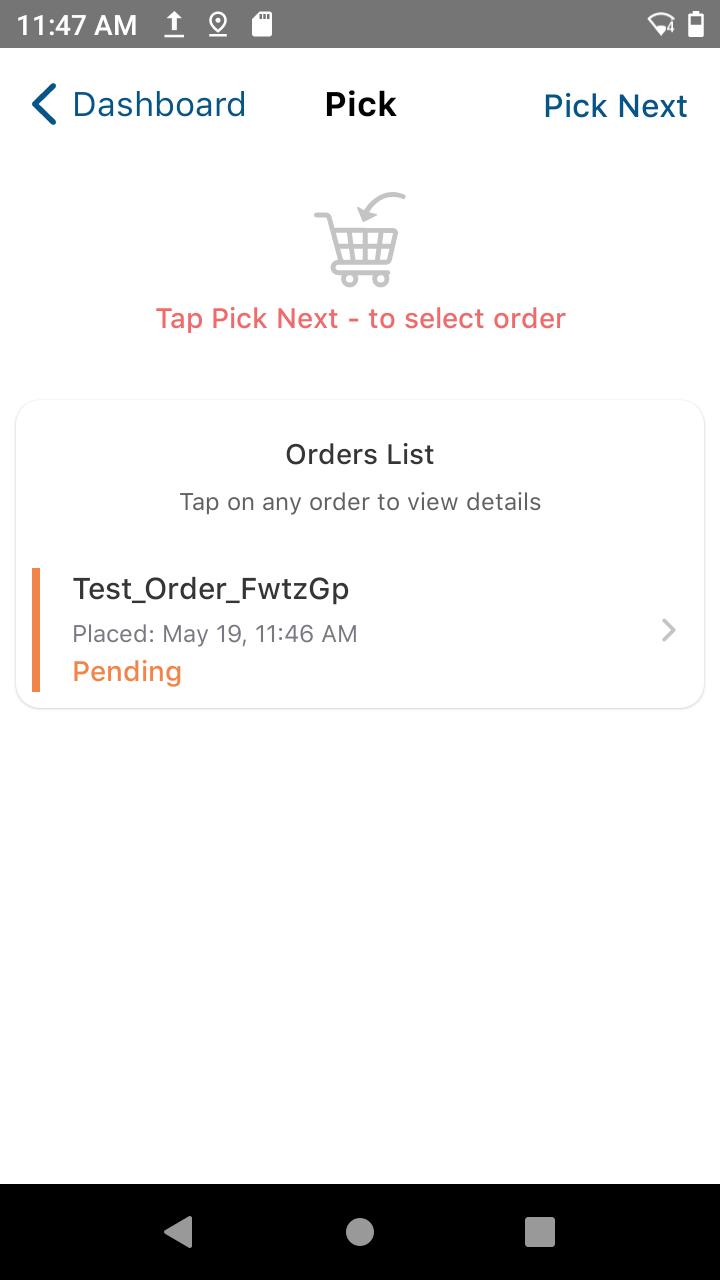
- Pick Next: Select the Pick Next option to proceed with the order.
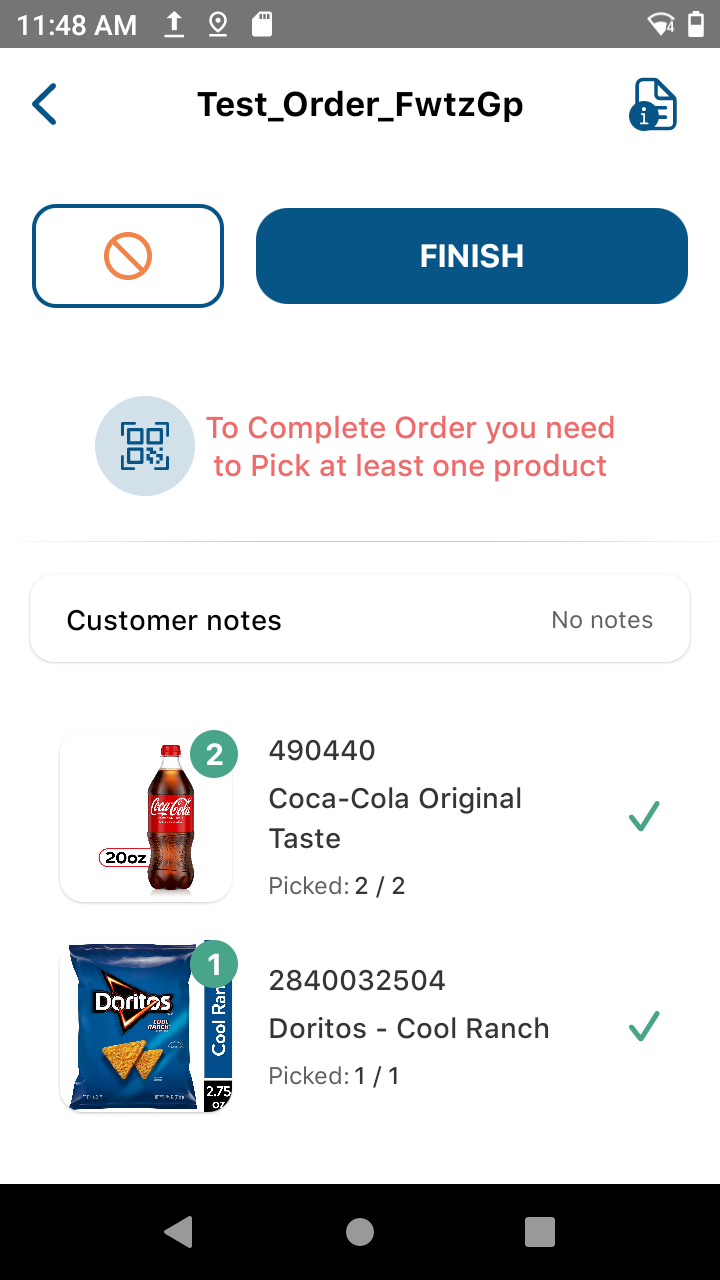
- Select Products: Select each product image when picking the items to fulfill the order. The red number in the top right corner of each product changes to green once each item in the correct quantity has been picked.
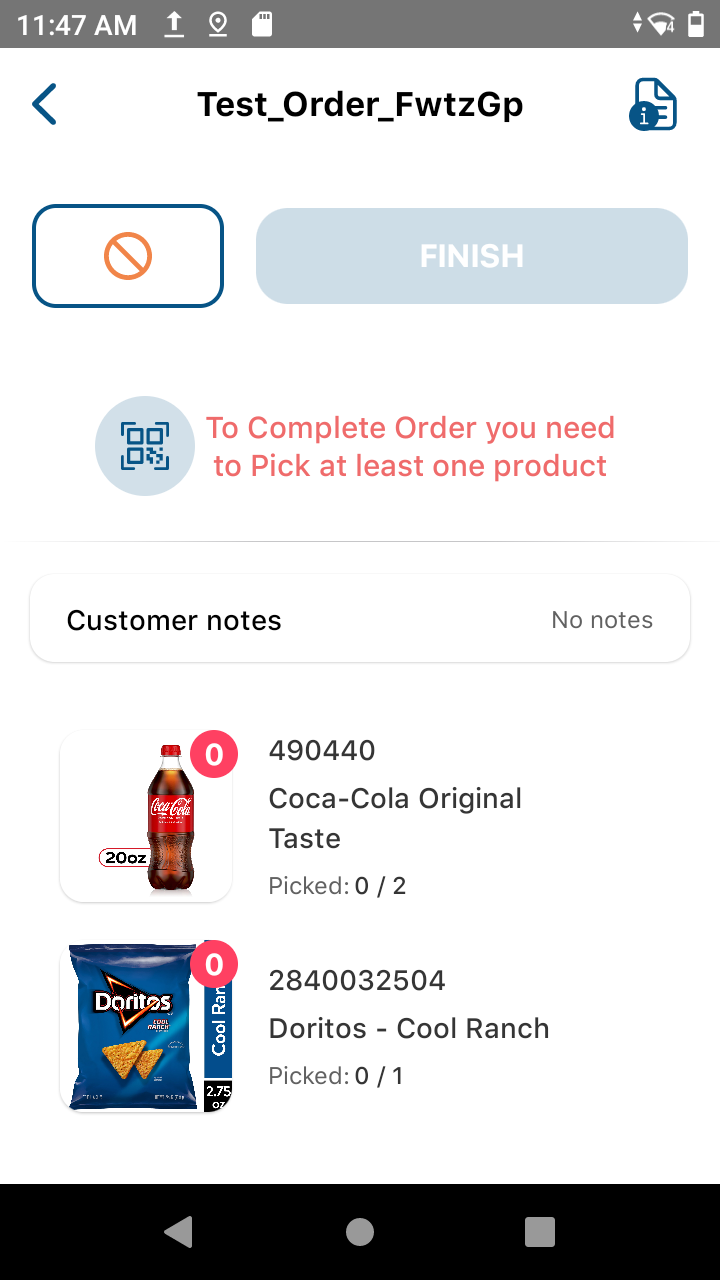
- Finish Picking: Once all items are picked in the order, select the “Finish” button.
- Order Total: Enter the order total value amount. Ensure it matches the receipt for the order.
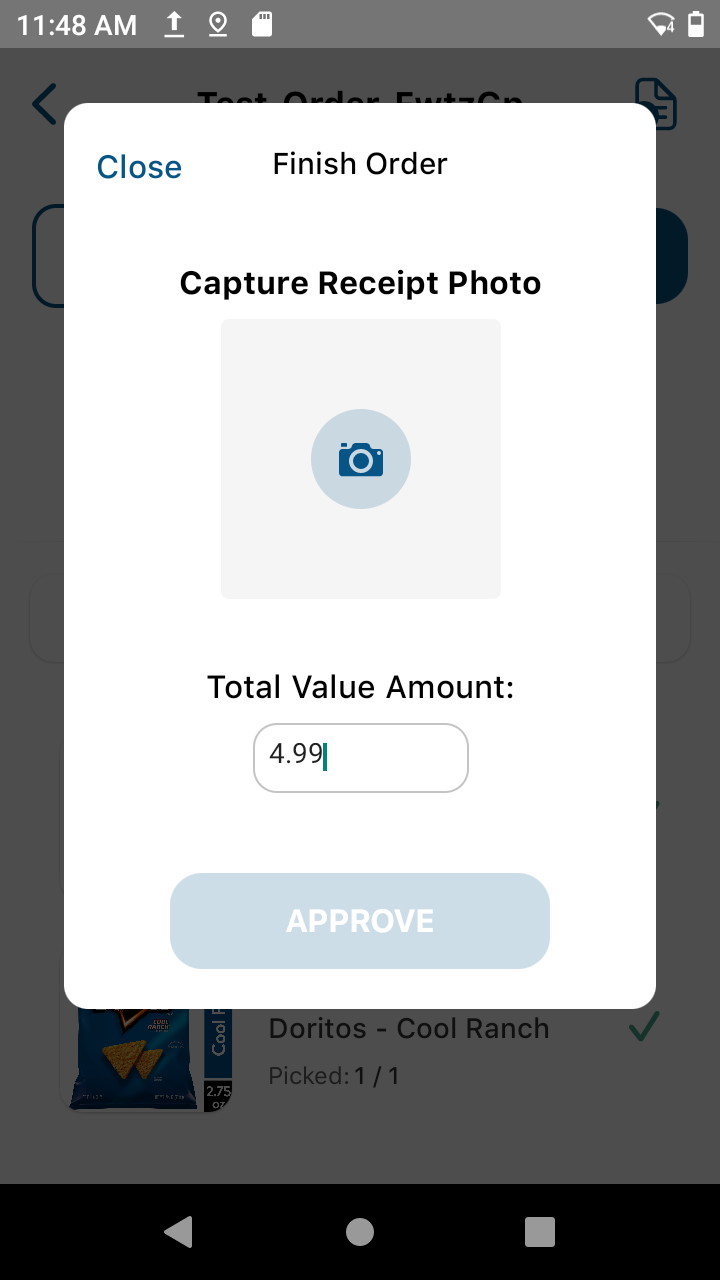
Camera: Select the camera icon on the screen to open up the camera feature.
Capture Photo: Take a photo of the receipt for the order.
Approve: Once the image loads on the device, select the “Approve” button.
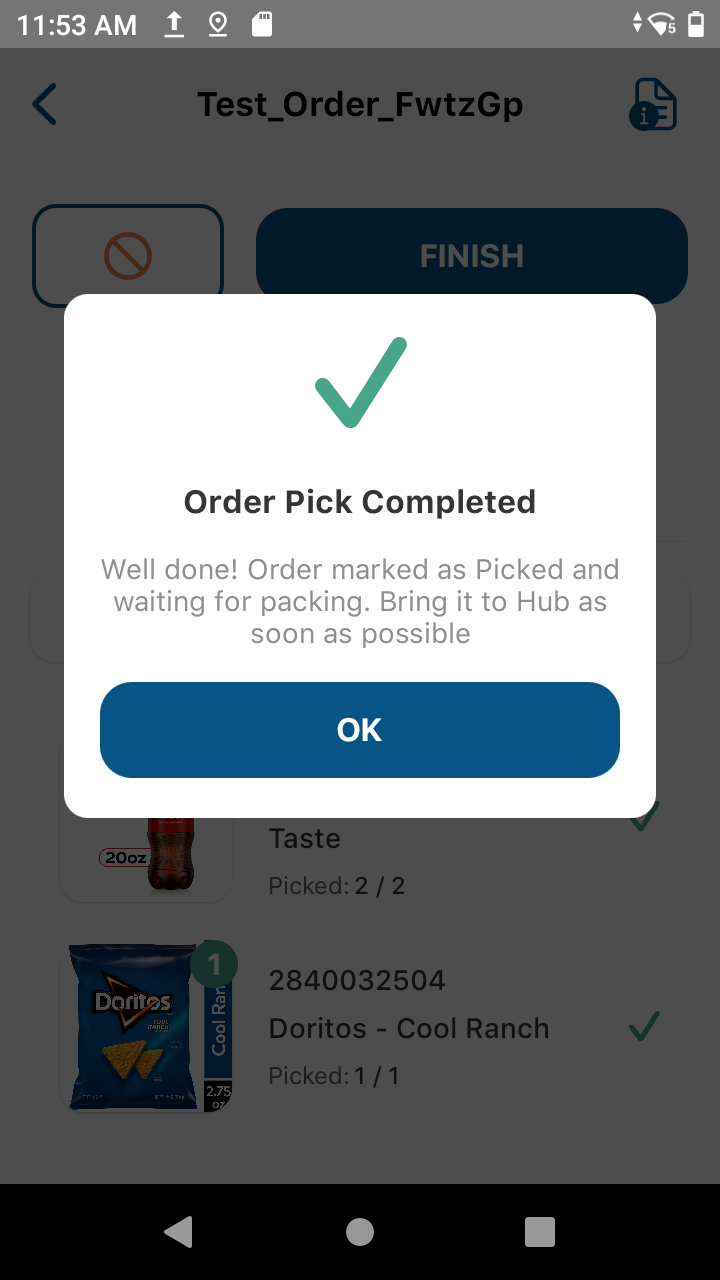
Finish Process: Select the “Finish” button to complete the picking process. Then select the “OK” confirmation button.
- Dashboard: Once the above procedural steps are completed, select the “Dashboard” button in the top right corner to return to the main tiles page.
Pack
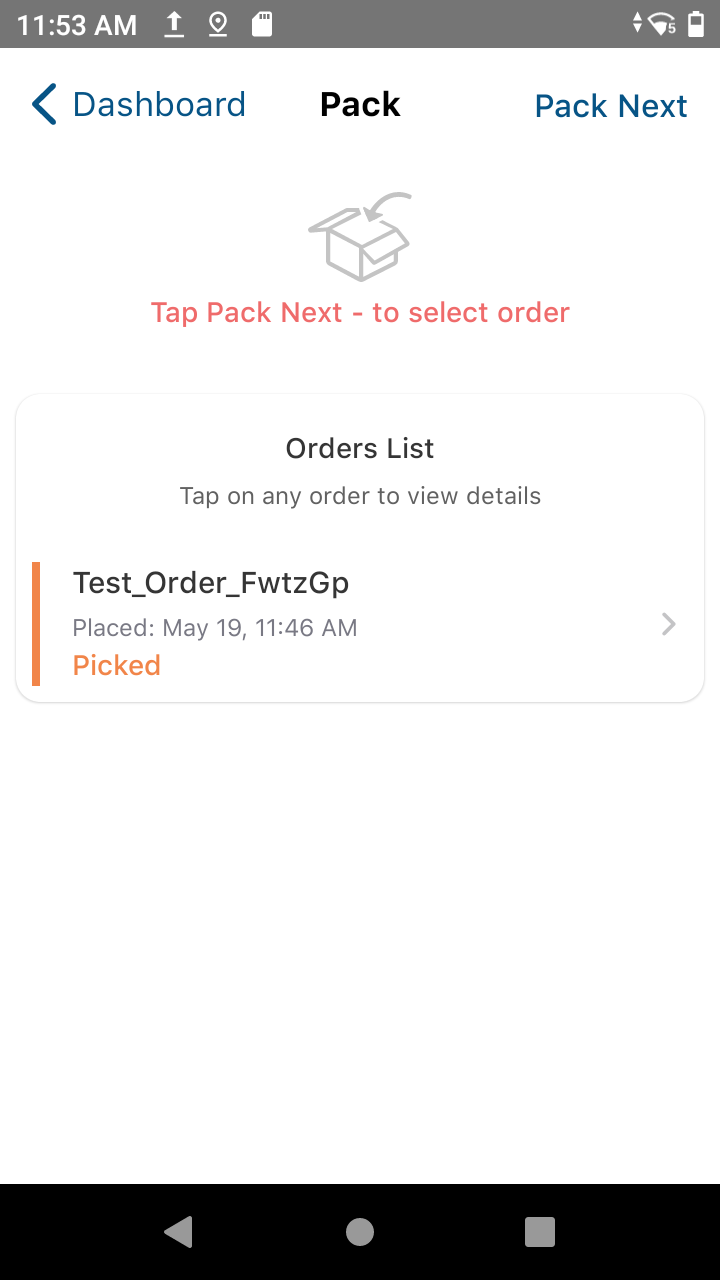
- Select Pack: Select the “Pack” icon on the HubOps MCA to begin the procedure.
- Pack Next: Select the “Pack Next” button to proceed with packing the order processed during the HubOps MCA - Pick normal procedure.
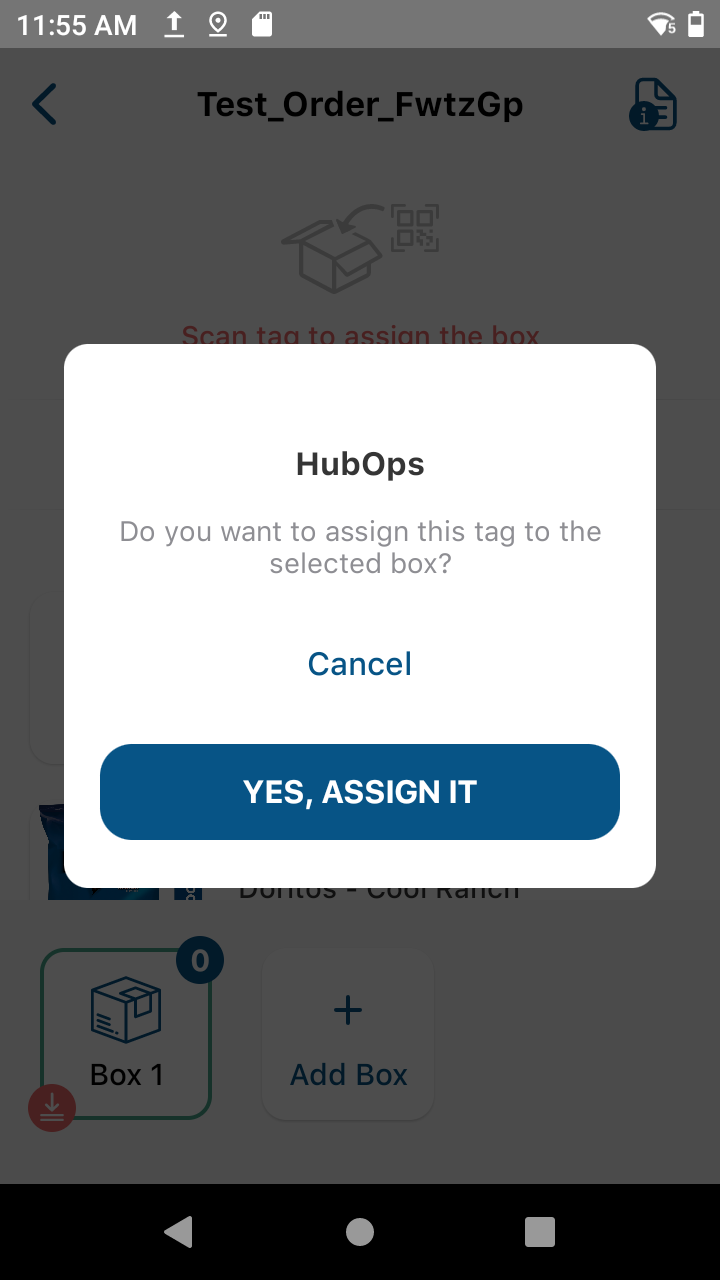
QR Code: Place a QR code sticker onto the box that will be used for the delivery. Scan the QR code with the Zebra Scanner by pointing the scanner and pressing one of the yellow buttons on the side of the device. Scanning this QR code assigns that delivery box to the order.
Assign: Select the “YES, ASSIGN IT” button to confirm the box association with the order.
- Weighing: Place the picked items into the delivery box, along with any packing material which may be required to keep the contents stable and secure. Close the box and weigh the packed box on the scale.
Ensure that the area around the scale is free from debris and that the scale is firmly planted on a flat, solid, level surface during the weighing activity.
Do not continue to the next step until the weight indicated on the scale display is stable (no longer changing).
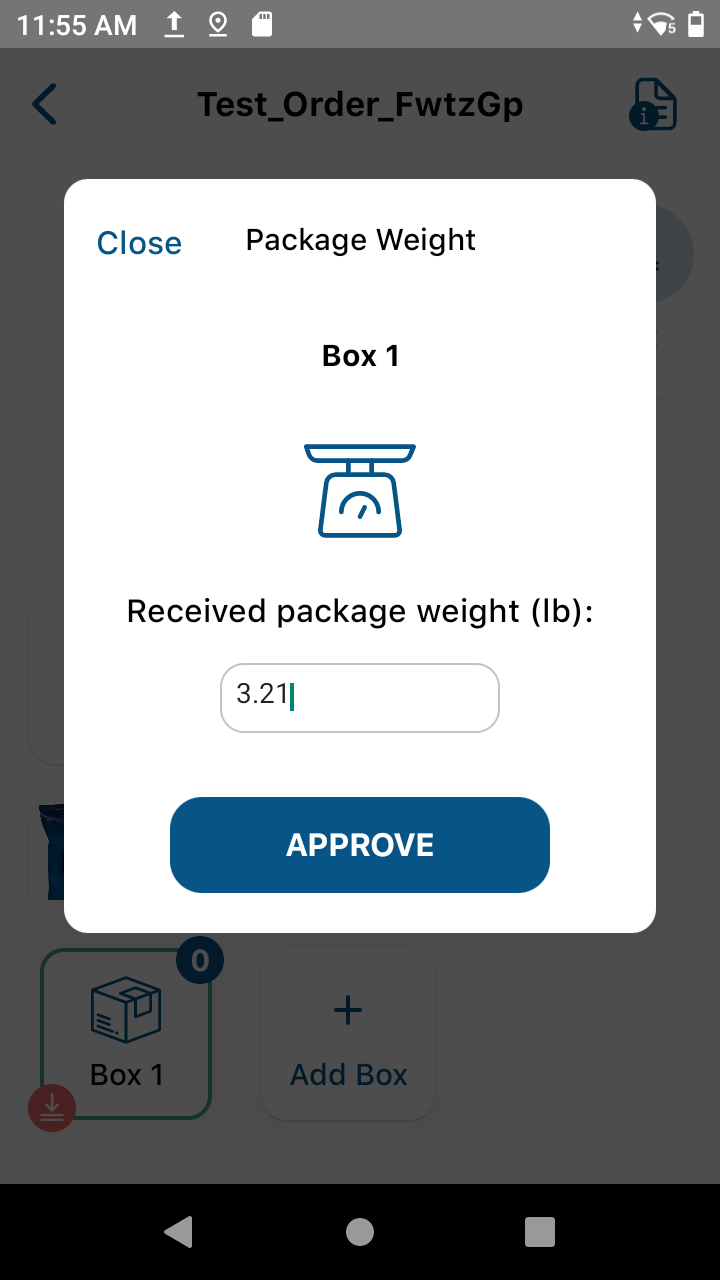
- Enter Weight: Select the Scale icon and enter the weight of the packed delivery box. Weight must be entered in the units of lbs. Ensure that the weight of the delivery box is within the weight limits permitted by the PRISM V2.3 UAFM.
- Approve Weight: Select the “Approve” button once the weight has been entered.
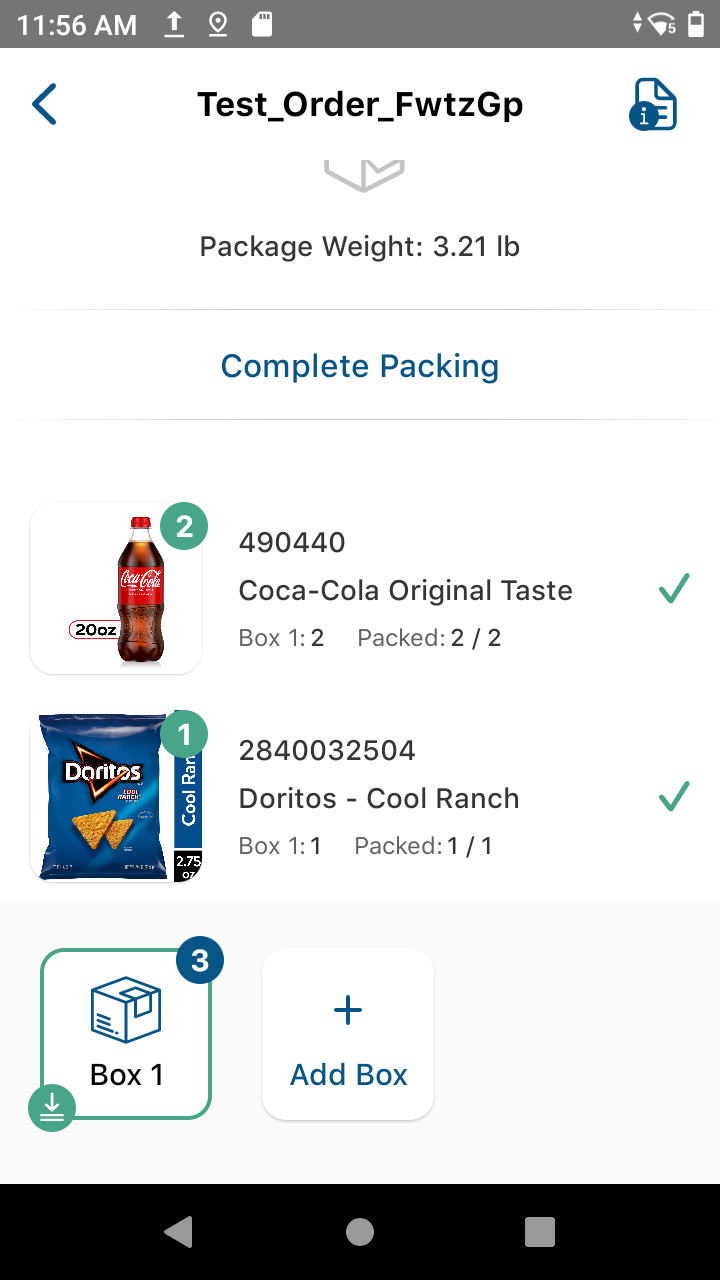
- Item Image: Select each picked item’s image, per the number of quantities, to add the item to the box contents tracker within the application.
Additional Box: If the order does not fit in a single delivery box, select the “Add Box” button to assign another box to the order. This will require repeating steps 3 through 8 for each additional delivery box.
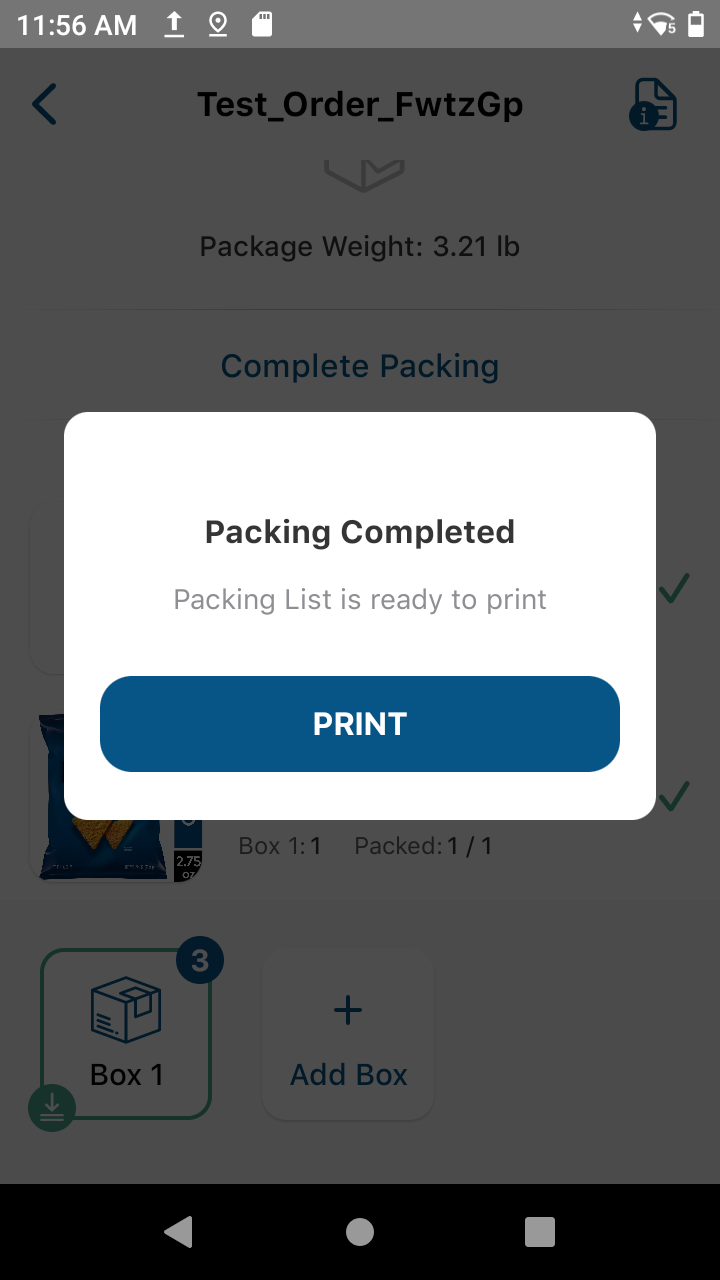
Complete Packing: Once all items are identified as packed, select the “Complete Packing” button to move onto the next step.
- Print: Select the “PRINT” button.
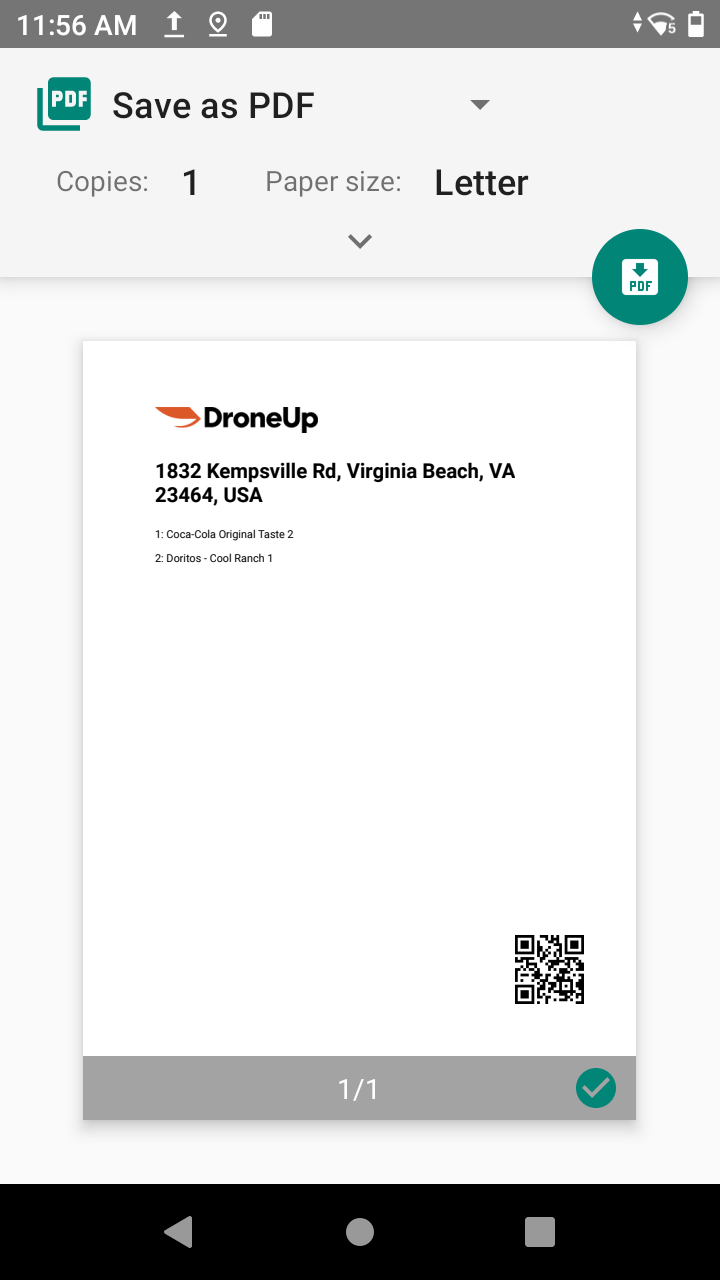
- Save: Select the “save as PDF” button.
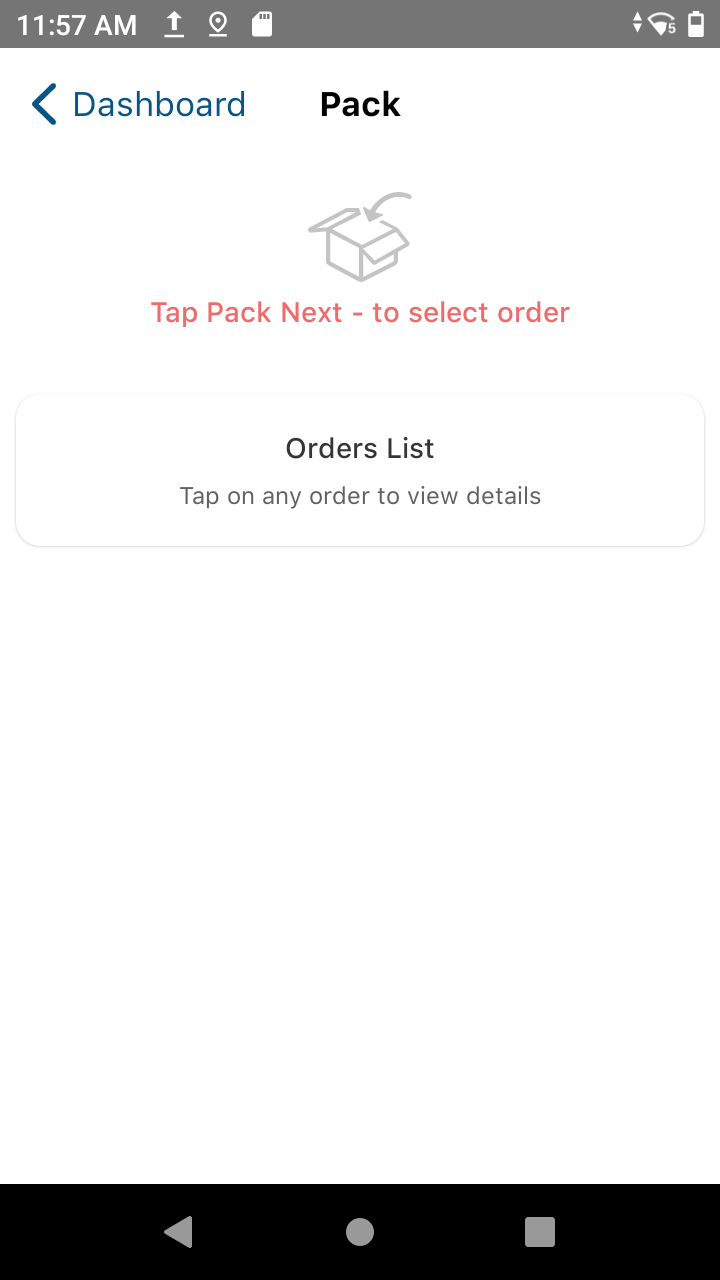
- Dashboard: Once the above procedural steps are completed, select the “Dashboard” button in the top right corner to return to the main tiles page.
Flight Deck
- Flight Deck: Select the “Flight Deck” tile on the MCA Dashboard to begin the procedure.

- Scan Delivery Box: Select the order which is being fulfilled. Scan the delivery box by pointing the Zebra scanner at the box’s attached QR code.
Scan aircraft: Scan the aircraft to assign the delivery box and order to the aircraft. Point the scanner to the asset tag on the aircraft and press one of the yellow buttons on the side of the scanner device. The asset tag is labeled on the rear portion of the top canopy of the aircraft on the starboard side. It is titled “Property of DroneUp” at the top with a barcode underneath it and below that there will be a A-XXXXXXX designator, where X stands for a numerical value.
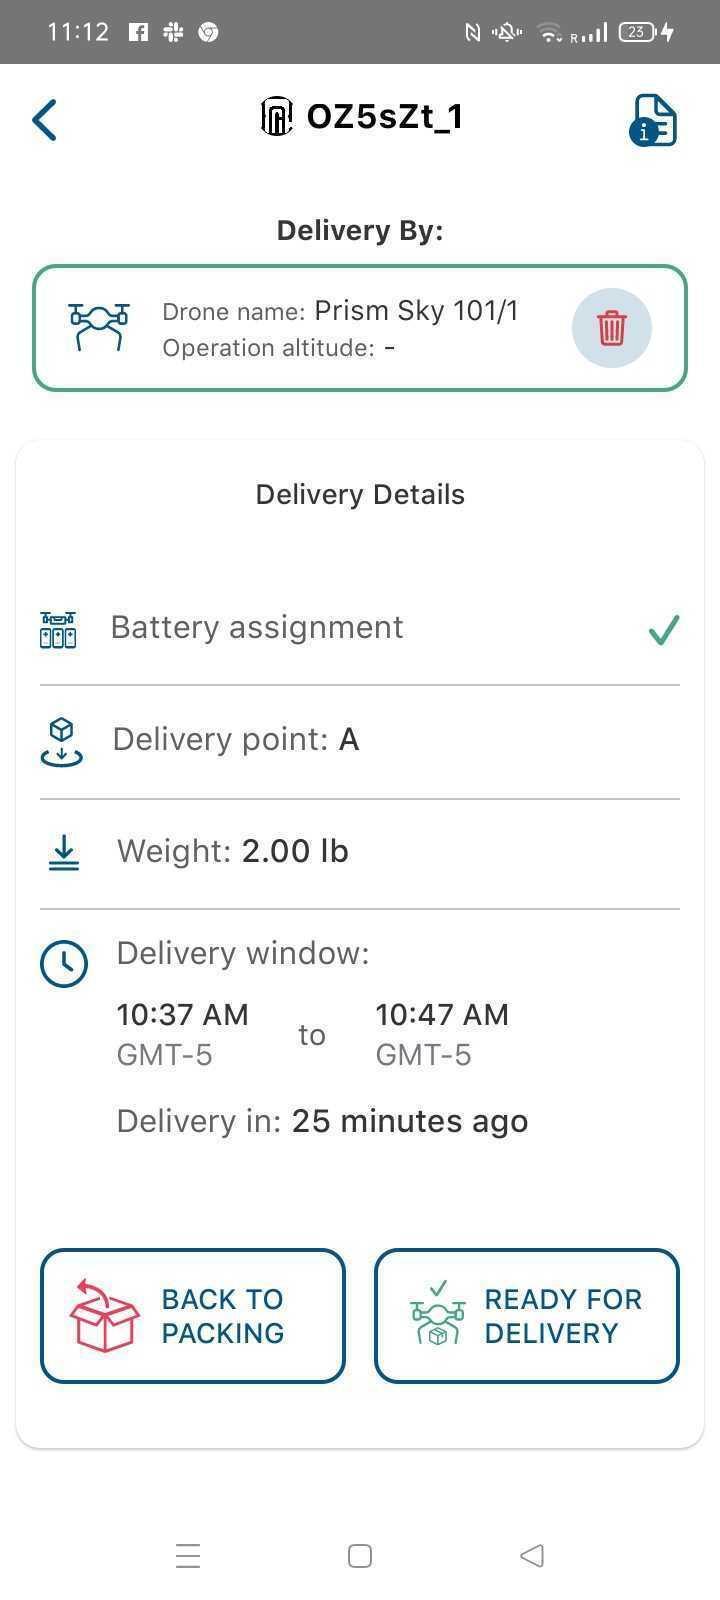
Battery Assignment: Open the “Battery Assignment” menu, scan both energy storage devices attached to the aircraft. Once scanned, the “Approve” button will be usable. The crew also has the option to clear out the scanned assets in order to rescan if required.
Ready for Delivery: After the energy storage devices have been scanned, select the “READY FOR DELIVERY” button to proceed. Selecting this option produces a popup to send an energy storage device parameter change and reboot command to the aircraft autopilot. Once the request successfully completes, HubOps moves the order forward to the Piloting tile.
Initial Piloting
- Piloting Tile: Select the “Piloting” tile on the HubOps MCA Dashboard.
- Next: Select the “Pick Next” option.

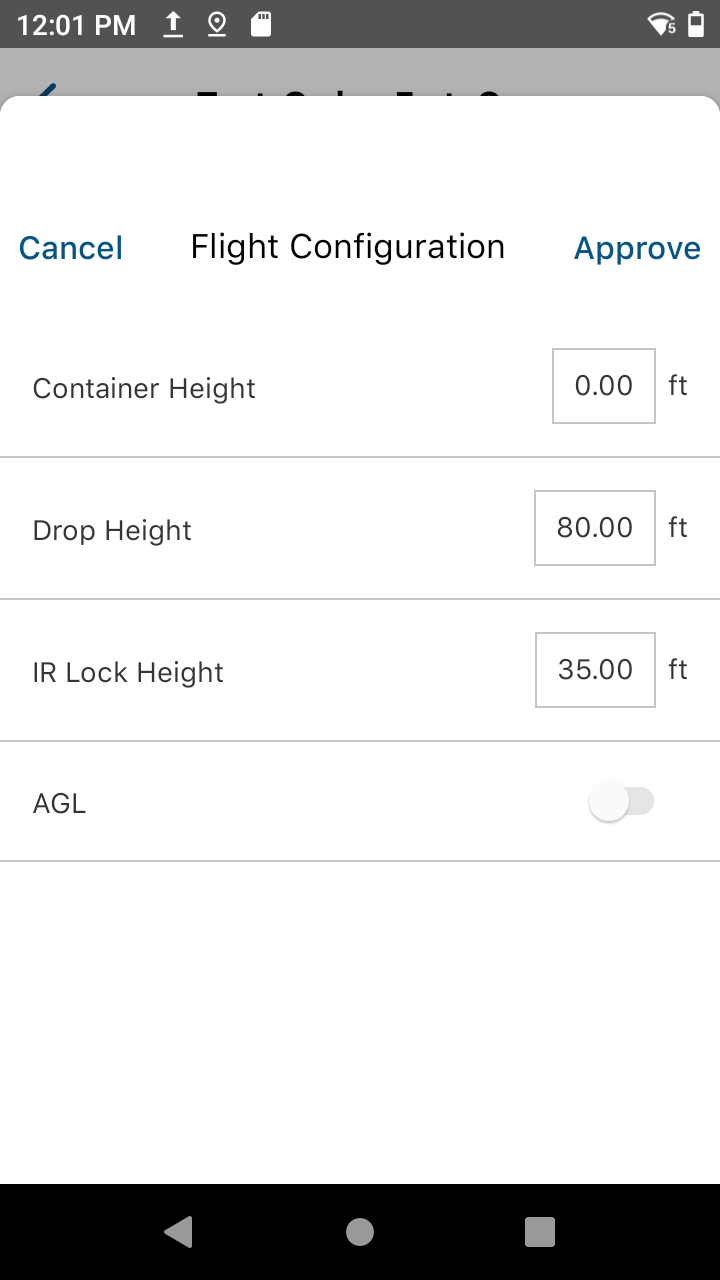
a. Flight Configuration Approval: Select “Approve” for the flight configuration if the settings are correct.
a.  Container Height for the PRISM V2.3 configuration shall be set to 0 feet.

b.  Drop Height shall be set to a value between 80 feet and 124.9 feet.

c.  IR Lock Height is a preconfigured value representing the desired lock height for precision landing.
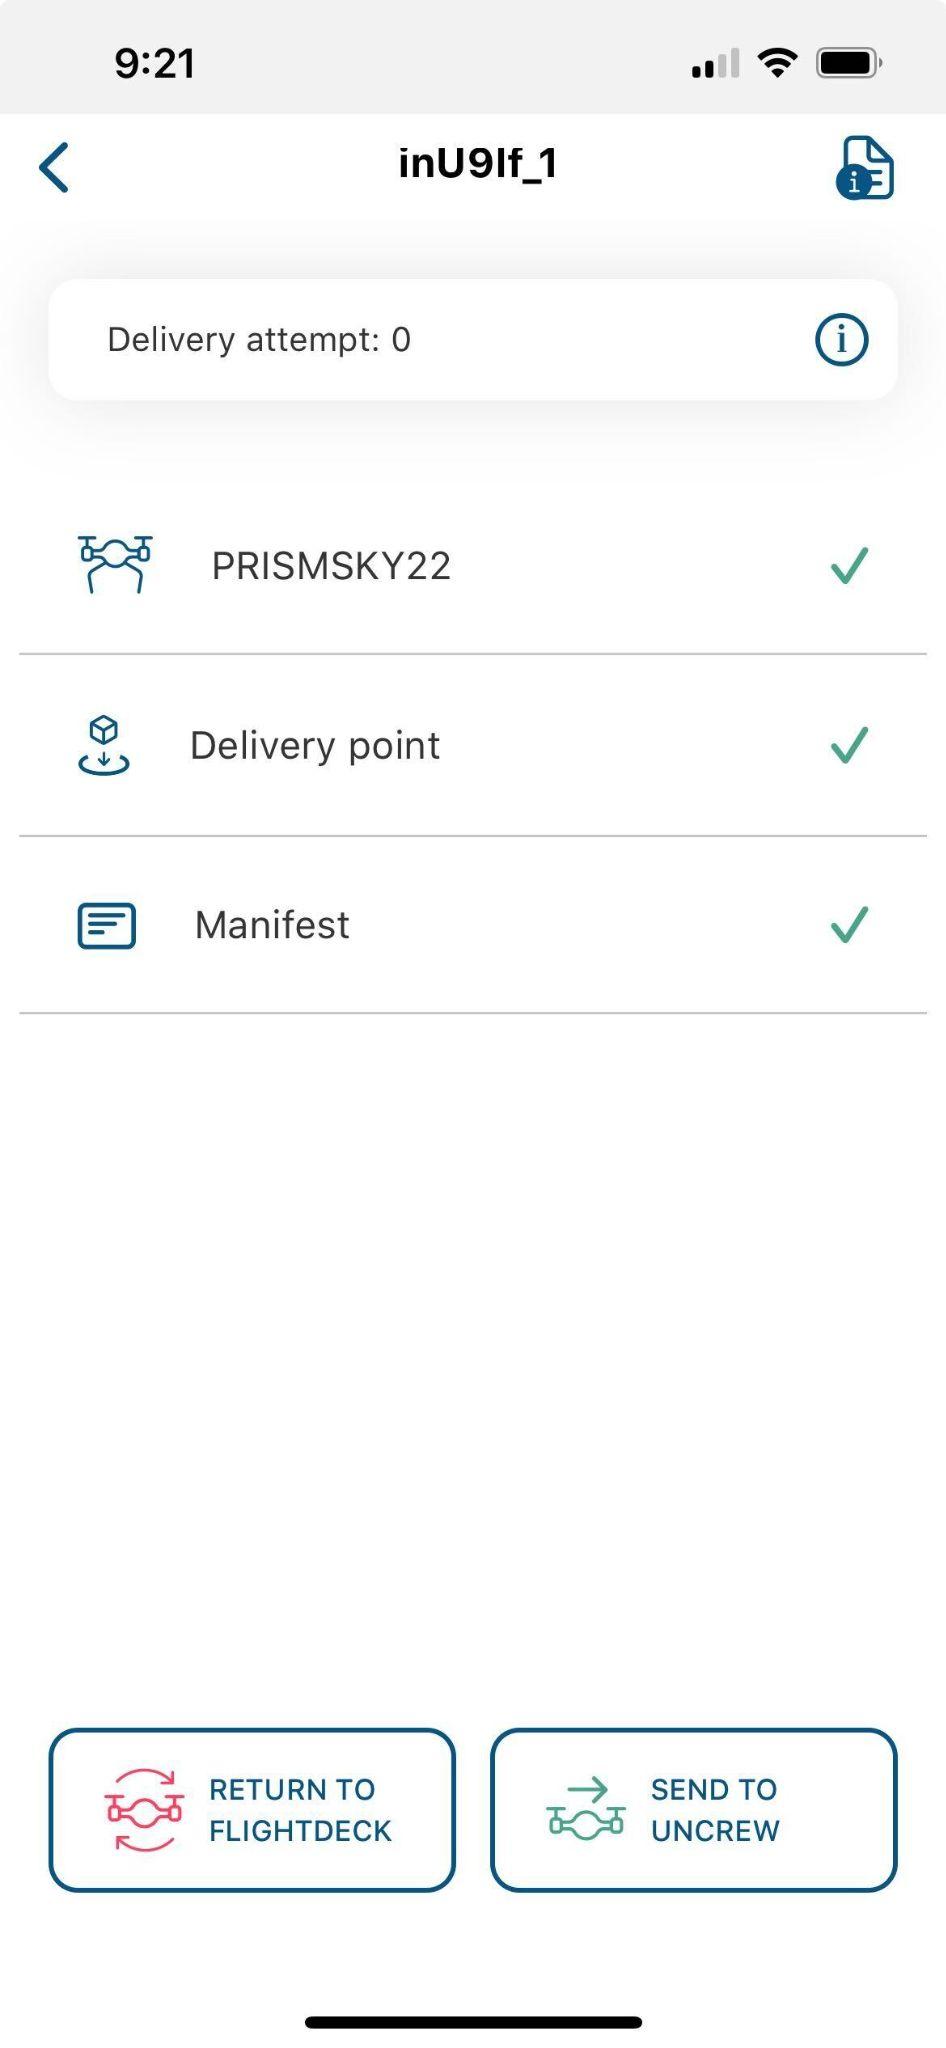
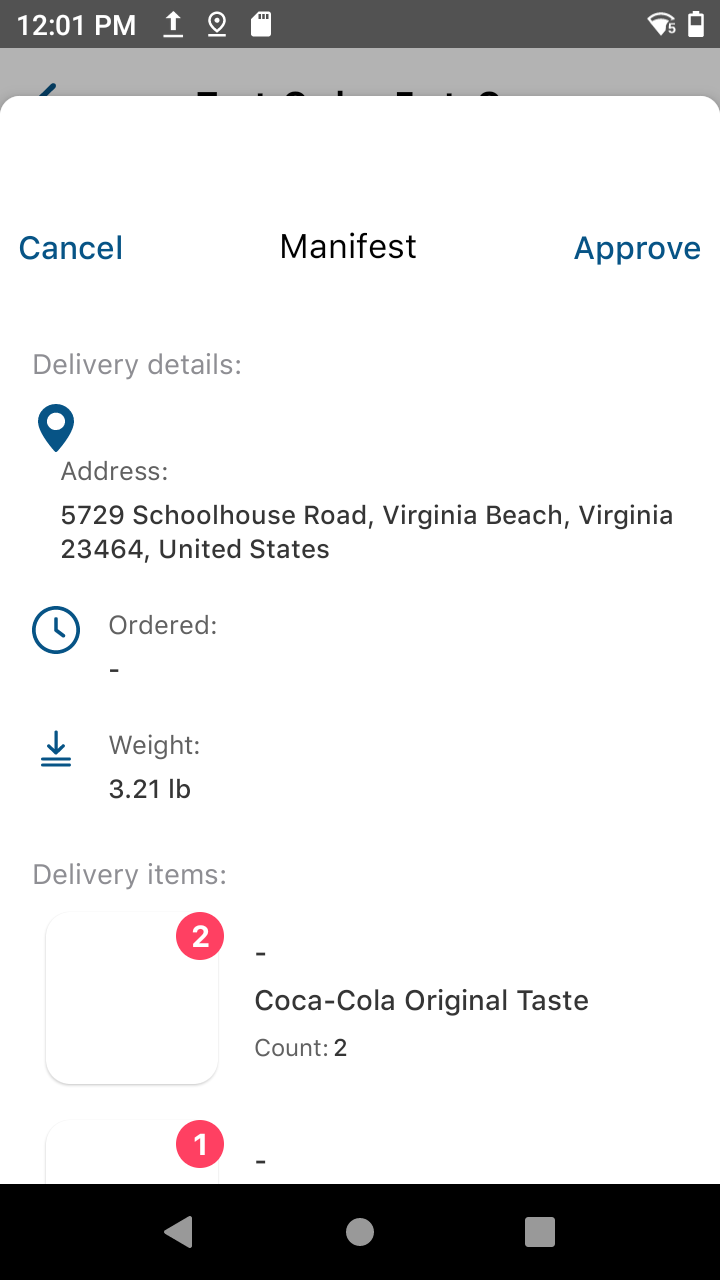
- Manifest Approval: Select the “Manifest” button for final approval in the HubOps MCA. Verify the items listed and select “Approve” to approve the manifest.
- Send to Uncrew: Once all approvals are confirmed, the “SEND TO UNCREW” button will stop being opaque and should be selected. This sends the mission details to Uncrew, which will compute the flight path and remaining mission details. The RPIC is unable to override these mission details being sent to Uncrew.